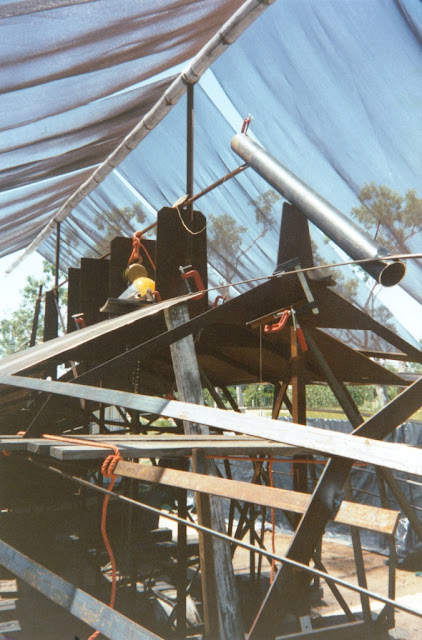
The plating began with the 5mm bottom plates. The first plate was at the aft quarter . A half ton chain block was hung from some angle steel set around the keel line. A pair of well tightened 4" G-clamps in the middle of the plate substituted for a plate dog. Just made sure not to stand anywhere below it while raising.
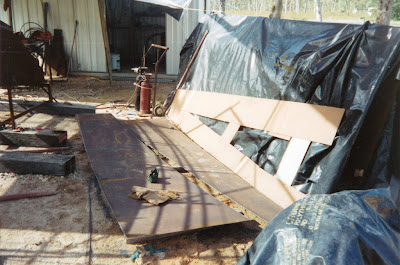
It's easier and faster to make a Masonite template for each plate. Masonite is a soft 6mm wood pulp sheet. Pieces of masonite were fitted to the hull frame, tek screwed together and clamped into position on the frames/chine bar. A pencil marked the outline of the sheet on the masonites painted side. Masonite is soft and it was easy to use a wood jigsaw and plane the edges to shape on the ground. The template was re-fitted to check, alter the outline, then replaned.
The template was then overlaid on an 8x4ft steel sheet and the outline scribed onto the steel. Oxy-acetylene gear was used to cut the steel sheet a few mm outside the scribe line. 9" and 5" diameter angle grinders then removed the few mm of steel to the scribed outline.
The oxy-acetylene cutting process causes some shrinkage distortion (curving) of the steel plate so the edges were peened flat. Peening involved placing a small anvil under the sheet edge then hitting the edge above the anvil with a small steel mallet. The anvil was moved and process repeated right around the edge of the plate. The edges of the plate, chine bars and adjoining plates on the hull were beveled to allow for better weld penetration later. Finally the plate laid flat on the ground ready for raising.
The third bottom plate is being raised amidships.
The plate fit exactly into the gap between lower chine, garboard and aft plate. C-clamps aligned the plate to chine and bolts with washers held adjoining plates into alignment. After everything looked fair and smooth. It was tack welded to the hull framework. A small 1mm gap was left at all joins. The templating pays off at this stage. Its far harder to move the heavy plate around than the lightweight template.
I followed the building methods and techniques recommended by the designer Nick Skeates and others of the era such as US boat-builder Gilbert Klingel and US Designer Thomas E Colvin (refer the books side bar). The building plans supplied by Nick come on 4 , A2 sized sheets, plus some building notes.
A 4" diameter pipe was fitted to form the leading edge of the keel. The 40x10mm fore foot bar was faired into the hull.
The bottom plates were done first so that a solid surface is made to walk around on for work on the keel. It also allows access and keeps it drier below.
The keel side plates are fitted next. The aft plate has the propellor aperture cut out. Small steel steps were tack welded to the transom for easy access onto the hull.
Note plate-plate joins have small bolts and washers, drilled through, to hold joins into alignment. Short flat bars help with hull fairing.


