Tuesday, September 3, 2013

Sailing again aboard trailer yacht "Teria"

To cover new sailing times which are happening here, I set up a  a new blog called "Waterways -sailing an Investigator 563 trailer yacht"(and a Fatty Knees 8 dinghy"). In 2013 we bought an old Investigator 563 (18' 6") trailer yacht to do some cruising locally. The blog covers places visited, things about the boat and maintenance work needed to keep her operational and safe. Other craft such as our Fatty knees 8, kayak and  trailer sailing in general are also in there.

We bought the boats so that we could enjoy sailing now and learn more about it along the way.

Nick Skeates recommends getting a "sanity machine"  while boat building and it is definitely sound advice, keeps your mindset in the right place. Though in my case our small sail-boats do get a lions share of the spare time.!

Investigator 563 Teria (18' 6" LOA) on our first sail off Townsville. Magnetic Island in background. It can sail at 4-5 knots.

Fatty Knees 8 foot dinghy sailing - Cape Palleranda
The fatty knees 8 is one of the best dinghy's I have ever owned. It gets along at a respectable 3-4 knots and handles with a solid reassuring feel, a real micron-cruiser. It should be well suited to being a wylo's tender.


Sunday, August 18, 2013

Fatty knees 8 capsize test

The "Jai Dee" a Fatty Knees 8 is a great sailing tender, simple seaworthy, reliable and easy to hand by myself if need be.  I like to take Jai Dee out upto 1 mile off shore in about 15knots but if something went wrong you could probably drift back to the coast. I was also wondering what an unlikely capsize would be like..

So carried out a capsize test in a safe place. An unusual NNW wind left Palleranda beach's waters flat with a slight breeze. It's not that easy to capsize a Fatty knees but i stood on the leeward gunwale and over she went. Its a different story to most buoyant racing dinghys. On the Fatty knees the buoyancy chambers are relatively small so she floated just above half way out, the keel and center board about 4 inches above the sea. It's easy to right just a push your arm down on the centerboard and by grabbing the gunwale from windward.

When she is upright, its about half full of water and is fairly unstable. I got aboard from windward  by sheeting in the main and floating over the windward gunwale. Its easy to roll back to windward.

Once aboard, kneeling amidships seems stabler. Found my 1.5 litre bailer was a bit small but got it bailed out in about 5 mins. (This is a bit long so added a 4 litre bailing bucket to the inventory). More capsize practice would be good. With 2 crew it might be easier, crew1 to windward and other crew 2 to lee ward could stay inside the hull as it came up, then do the bailing while crew 1 acted as sea anchor on the bow during bailing.


Friday, May 25, 2012

Dinghy for Wylo2's

(updated 28/9/21)

Wylo2's can stow a wide range of dinghy types. Some have inflatables and there is plenty of deck space for a hard dinghy as well.

From what i've seen and read many small, coastal or part-time cruising yacht's tend to go for inflatable dinghy's. Hard dinghy's seem to be seen among larger permanent liveaboards or ocean voyagers.

I decided to start with a hard dinghy, rather than an inflatable. Hard dinghy's should last longer, row and sail well. A cost-effective small 2hp outboard can be used for situations like calms, long distance, going upwind or time constraints. Hard dinghy's won't deflate, perish or need replacement after a few years in the sun. They are often easier/cheaper to find for sale by word of mouth when living aboard or asking around at a boating club.  

My dinghy had to fit on the wylo's davits/decks, row/sail well and take a few knocks around pontoons or on beaches, oyster and barnacle encrusted rocks, wharf piles etc. I wanted good carrying capacity and low cost maintenance ie. a practical workboat.  It would be used in anchorages and harbours which are usually fairly sheltered but have enough stability and freeboard to survive a rough patch if needed. Have 3 types of propulsion - sail, oars and motor.

Nick Skeate's recommended buying a cruising sailing dinghy while boat-building (He had a 12' Heron  while building wylo2) A good size range for an affordable manageable sailing dinghy is 10-14ft. I look for solid ones that can be cruised with simple gear and sails, rather than tippy ex racers (Heron, Mirror, Dehavilland Vagabond 12, Capercat14)  
 
There is a wide range of small yacht tenders out there and the search for a good design/ designer was not easy. It took some time, research and looking about, definitely not something to rush into. Many of the nice designs are not readily available second hand and need to be home built, so just kept looking at 2nd hand market. 

Eventually spotted a second-hand Fatty Knees 8 online. It was a sturdy looking cat rigged clinker with free standing mast.


It was designed by L Hess in the 1980's and many were built in the USA. Cruising authors, Lin and Larry Pardey  owned Fatty Knees tenders for decades and took them around the world on the decks of their 2 Gaff rigged pilot cutters, so it seemed like a promising design for a tender. Browsing google books site found information by the Pardey's in their book  Capable Cruiser.

The hull shape and design was also similar to the first dinghy i had ever rowed, a far-heavier  wooden lapstrake 8 footer.. My brother and i had also co-owned a 10' kauri frostbite clinker dinghy in NZ  which had a stayed Bermudan cat rig and rowed well.

Safety, displacement hull, performance, balance and graceful lines are major design criteria. They have lapstrake (clinker) fibreglass hulls with traditional teak trim.  The copper roves holding the gunwale together give a sense of nostalgia  and  feeling of being in a traditional wooden boat.  However the fiberglass hull and buoyancy tanks gives it the advantages of lighter weight, rot proofing, low maintenance and water tightness. The moulded lapstrake shape makes the hull very strong too, it's like having many in-built longitudinal stringers.  High freeboard allows it carry a heavy load even in choppy conditions. 

There are 3 versions of the Fatty Knees dinghy - 7', 8' and 9' long.

The 7 ft version was designed for the Pardey's first yacht  'Seraffyn' which was launched in 1968. 

The Fatty Knees 8 was the final version, created in the early 1980's. It has 4'3" beam, the bare hull weighs 50kg and the Bermudan sail area is 50 sq ft. A short article by Lin Pardey "My favorite dinghy" talks about its development history. The Pardey's commissioned Lyle Hess to design it for their 29'9" pilot cutter "Taleisin" which was launched in 1985.  Larry Pardey built the original plug (from wood?) for fiberglass production of the hulls.  
 
They were originally built by Hess' yard in Ontario, California. Then they were built by Eddy and Duff  in their traditional boat yard in MA until it's closure in 2010. Fortunately, modern versions are still in production today at "Fatty Knees Boat Co LLC" Sagmore Beach, Massachusetts.  One Tough Tender has more detail.

In my case it was lucky that some years ago a trans-pacific yachty visiting Queensland had decided to change to a lighter weight inflatable. I heard he was a solo sailor and the Fatty knees was getting too heavy for him to lift aboard and handle alone as he got older. 

After purchasing her, she was named "Jai Dee", which means good heart in Thai.

She has a 2 part fibreglass mast with a middle join.  Spars stow within the hull length and still leave enough space for rowing. The mast goes into a luff sleeve on the sail, the wooden boom swings off a gooseneck and the clew outhaul cleats off along the boom. 

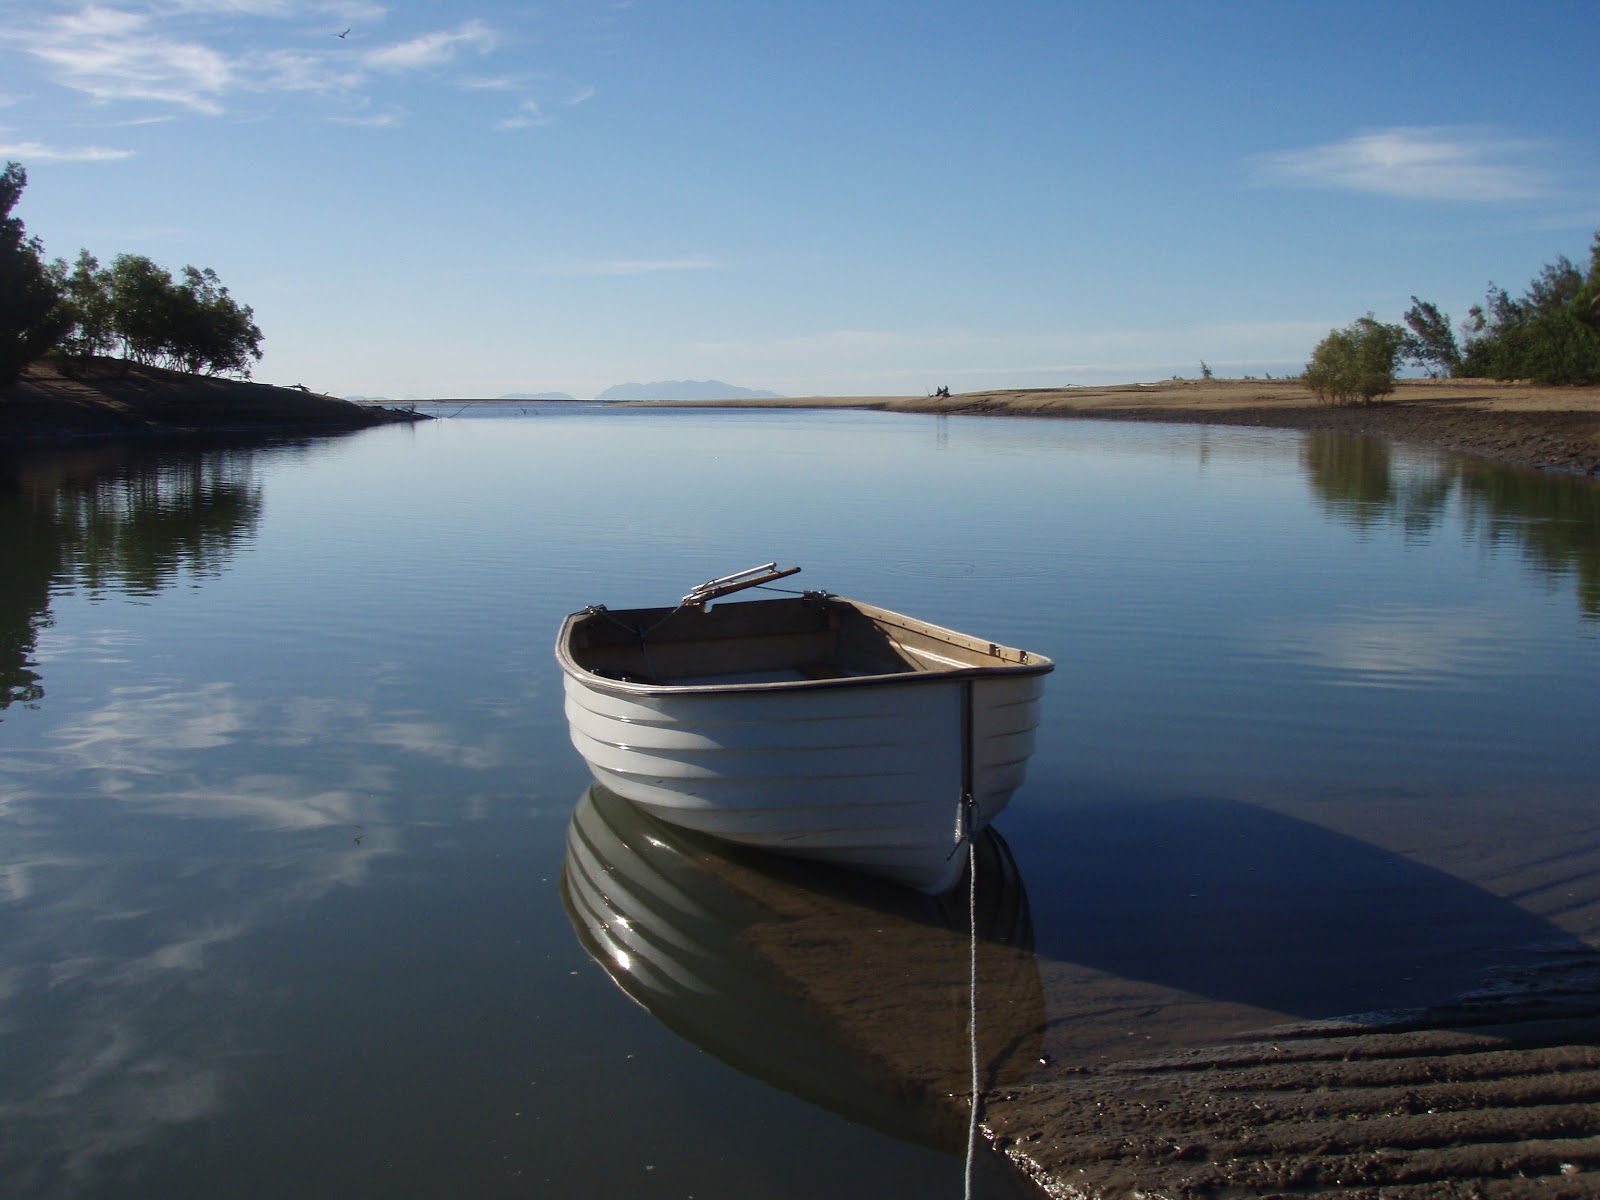
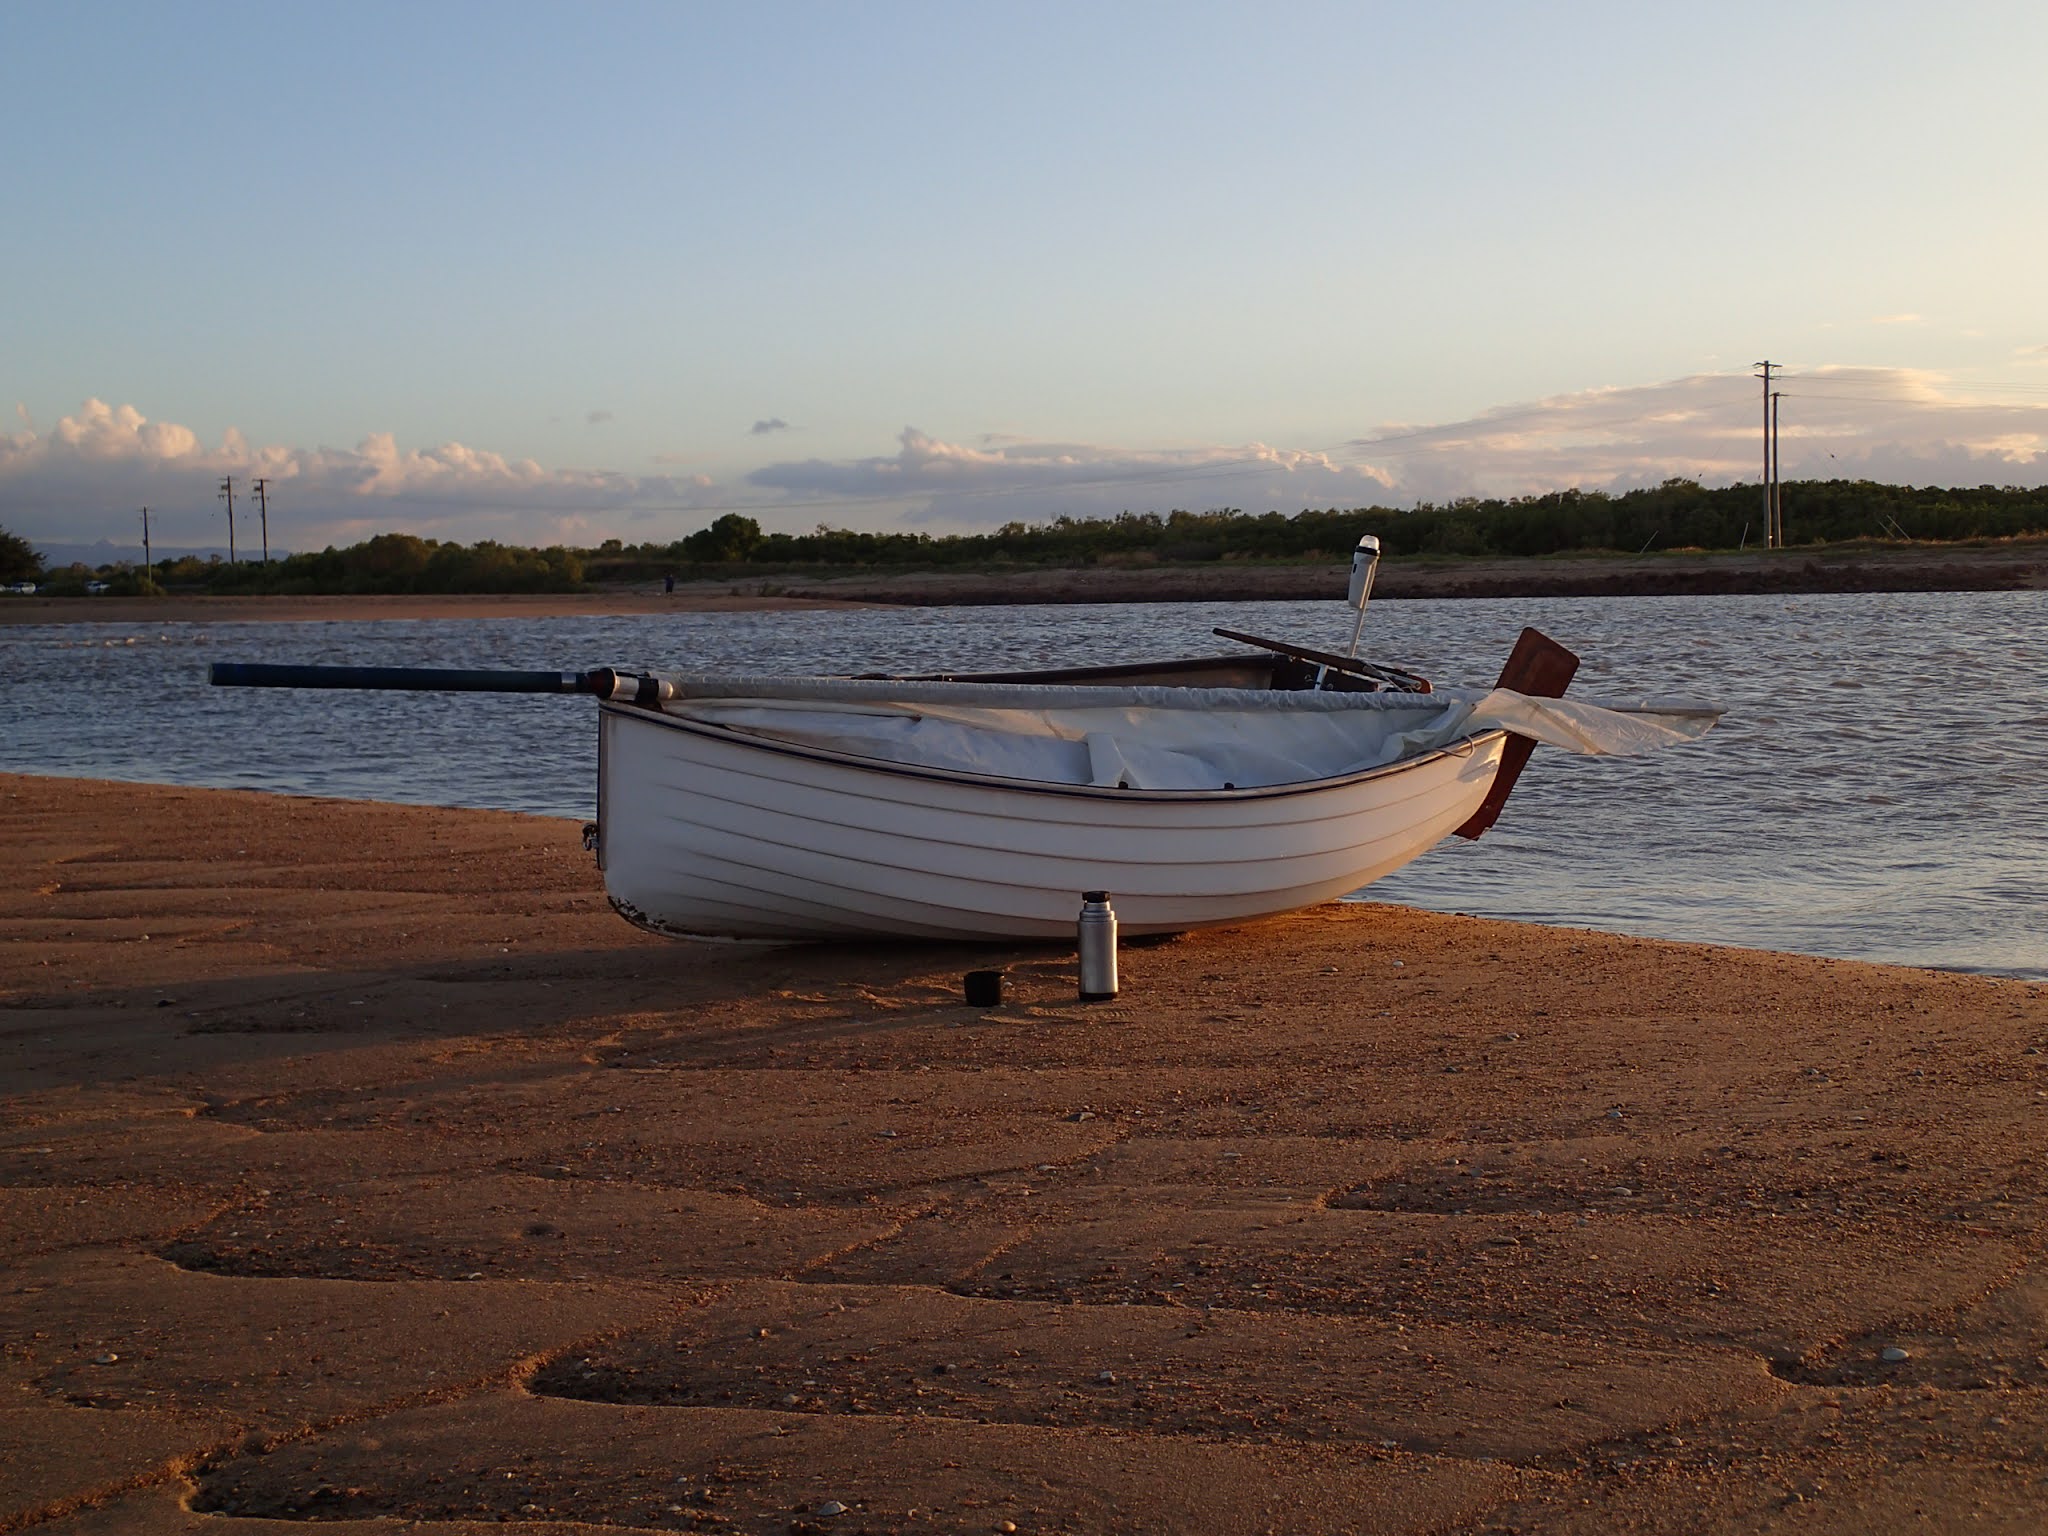
Fatty Knees 8 "Jai Dee"

The rowing seat also houses the dagger-board case and forms part of the forward buoyancy chamber. An small insert board plugs the dagger-board case when rowing, towing or motoring to stop water entering. The forward chamber has an 8" inspection port for dry storage. There's a second sealed buoyancy chamber-thwart inside the transom.

A rope traveller carries the mainsheet above the tiller and the working end goes to a cleat on the aft end of the centre seat.

Later boats seem to have aluminium masts, a sail track and halyard so it can be raised lowered easily while aboard. Check out Fatty Knees on Glissando's site.

I repaired the dinghy's converted box-trailer enough to get it road registered.  Then it was down to Ross River ramp for the relaunching. This was a great day as my last operational sailboat was a Hartley TS16 which was reluctantly sold off in the late 90's. On the trailer or out of the water Fatty knees are quite chubby but once in the water and loaded the proportions look just right. There's plenty of crew room inside and stacks of freeboard.

 The gunwales project out from the hull and have rubber tube for protection alongside docks or bigger boats.  


Rudder

She came with a kick up rudder. It was a DIY homemade one with a weak ply blade and not the original, and eventually broke. I replaced this with the original oregon fixed rudder blade. This is far stronger but needs to be unshipped when in the shallows near beaches.

Rowing

She rows well, seems to glide along between oar strokes and has a skeg aft so she tracks well too. I take the 2-part lightweight oars for calms when out sailing.  They have a swivel-type rowlock attached to the oar shaft and stow in a bag up forward.  There are 2 oarlock positions and a centreline seat, so the rower can move to balance fore and aft trim when 1, 2 or 3 adults are aboard. 

She also has a pair of heavier standard 8ft oars with ring crutches for rowing only.  

There is a transom notch for single oar sculling. I put a cleat with lanyard below the notch, so the scull can be held down. It's mainly used for steering in shallow waters when the fixed rudder is unshipped.

Sailing

The simple Cat rig was very fast to rig - derig in about 5 minutes. The mast is free-standing and drops in about 8" behind the stem post, there's no boom vang either so this allows a lot of crew space. The hull is quite beamy at 4'4"  plus a low deadrise angle and bilge seating makes it pretty stable. She sailed well in light to 10-15 knot breeze. The absence of a pram bow allows the dinghy to slice through the waves. 


 I was surprised how well she sailed to windward. On a close reach in 5-10 knot winds we were just a tad slower than an inflatable tender with a 2 horse outboard.  Rig-hull balance is good, slight weather helm and light on the tiller on all points of sail. She's very responsive to the helm and tacks or gybes easily.

The dagger boards ok in a muddy estuary, kept it half-up until i was used to the bottom depths, it was ok to windward like that. Not as good as a kick up centerboard but it gains valuable sailing space inside. The interior is designed for the crew to sit  in the bilge, low down like a Kayak which gives more intrinsic stability in gusts and lulls, not much need to move too much to control the heel angle or stay upright. The generous aft sections also allow the helmsman to stay well aft, even lounge back with the aft thwart as a backrest. The rudder is a kick up one, good for shallow water sailing. A small tang prevents the rudder slipping up and off the gudeons. The kick up rudder replaced the original fixed rudder-tiller assembly (kept as a spare).

Outboard on Fatty Knees.

After over 40 sail and oar afternoons spanning many years,  finally repaired JaiDee's 2hp outboard. It sits well on the port quarter with a couple of removable plywood pads under the clamps to protect the transom. Half throttle had her cruising nicely along the river.

Recently (September 2021) tried outboard/sail and oars combination together on a 3 hour excursion off Townsville..  Rigged a longer/adjustable main-sail traveller rope up for the mainsheet to fit around the outboard when changing tack. She can now be powered by any combination of the sail. oars or motor in a single outing. This turns JaiDee into a better micro-cruising dinghy, increasing safe operational range. The outboard pushes her at hull speed with half throttle on calm water.


Towing

Fatty Knees are designed to tow well behind a yacht. There's a strong eye bolt through the stem post at deck-seat level.  The previous owner sometimes towed her over to Magnetic Island from Townsville,  a  5-mile stretch of water  which is often choppy.

Anchoring

I replaced some oversized anchoring gear with a small folding anchor, attached to 3m of 4.5mm chain and 18m of 10mm silver rope warp. It all fits inside the  inspection hatch. Added an anchor cleat forward.


On local fishing advice, I attached the shackle to the crown of the anchor and used a moderate strength cable tie to attach chain to the shank end. The idea is if it gets fouled on an obstruction (coral head, mooring cable etc) then the cable tie breaks and the anchor frees itself. This is Ok provided you are aboard all the time. However, to leave the dinghy unattended on anchor, a safer option is the usual shackle the chain to shank and add a trip line and buoy to the crown.

Boarding

Hard dinghy's can tip over if someone puts all their weight on the gunwale. So only put weight on the floor when boarding or exiting to remain stable. Swimmers can usually re-board over the transom. 

Night navigation

Battery powered clamp-on navigation lights (and a torch) makes Jai Dee legal after dark. The port and starboard torch (pictured) stows in the 6" hatch, though haven't figured out what to do with the aft 360 white light on its regulation pole when not in use yet.


Discovered that it's easy to temporarily stow the full sail and rig. Just undo the sail downhaul, with the sail up and all, just pull the mast straight out of the mast step, lay the mast down next to the boom in the boat. The boom, sheet etc is left rigged up.  To re-rig I just pick the entire mast/sail/boom up, re-step and secure the downhaul line. This can be done either at the beach (easier) or at anchor.


Fatty knees with rig temporarily lowered.

I gradually got used to sailing the Fatty knees, beginning with light airs followed by increasing wind strengths. She sails best on a close reach in 10-15knot winds. 20 knots is maximum for this sail and wind must be spilled. Often sail from the Palleranda dinghy ramp, it's a semi-sheltered/open stretch of water. Magnetic Island is about 4km offshore and can offer some protection from 1-3m swells further offshore.  I've sailed for several nautical miles along the Palleranda-Townsville coast in 1-3 ft chop and 10-15knot winds and she feels very seaworthy bobbing over the waves like a cork. Heeling about 10 degrees increases windward freeboard too. It's a beamy stiff dinghy, I've never put the lee gunwale underwater as the rig naturally depowers its-self in gusts. Hardly ever had to let the main sheet fly, she just rounds up into it a bit.  Small Catamarans, kite surfers and some sea-kayakers share the waters off Palleranda when the winds up. (the sea-kayakers usually paddle to Magnetic Island early morning during offshore calm and return with the daily sea-breeze, not a bad idea for a small dinghy too)

I added a rectangular storage hatch to the aft seat and buoyancy tank. It's big enough to dry stow a day's cruising supplies and safety gear.  It's only briefly opened in light to moderate sailing conditions. A waterproof draw string bag is also kept on deck for needed things so the hatches can remain shut most of the time while sailing (as there's no foam floatation in the tanks)

Fatty knees "Jai Dee" sailing near Townsville Port.

Reefing down

Photos of Pardey's FN8 Cheeky showed the mainsail rig had 2 sets of reefing points, a halyard and what appears to be sail hoops around the mast. This reefing capability allowed them to sail in upto 25 knots of wind and always return safely under reduced sail if it blew up. 

For now in Jai Dee i just trip plan by sailing upwind early on, and pick good weather days to go out. On one trip the wind increased to over 25 knots, it was getting overpowered and was hard to control, so dropped all sail by un-stepping the mast, stowed it all inboard and rowed back downwind. Later my weather app showed maximum gusts of 31 knots had occurred, she cruised back safely under "bare hull" in these conditions.

A proper reefable rig is needed though.


Trailering

The dinghy is solidly built so weighs a little more than your average ply pram dinghy. I can handle its fully rigged and loaded weight on the beach by using 2 fenders as rollers. 

Dinghys on Wylo's

Wylo2 (Nick Skeates) Has a nesting dory. When nested the dory takes up very little deck space. When it's assembled it is long, narrow and easily driven either by oars or lug-sail.  wylo2 also carried a small pram dinghy and a clinker tender on davits.

Ironbark, a 35foot wylo which cruises some rough cold waters such as Antarctica, Greenland and Patgonia has an 11' Shellback dinghy on the main cabin deck, stowed either upside down or upright, the bow sits beside the mast, with room to get around.   Iron Barks Travels  has shellback pics and much more. It's a large dinghy with big carrying capacity.


Common dinghy's for cruising yachts


Inflatables - They have good stability (can sit-step on gunwales), high speed long range, handle surf and rough water well. So are good for diving platforms or landing on wilder shores. They can be deflated and stowed down below.  However they really depend on the outboard working, as they usually can't sail as backup.  Inflatables are notoriously terrible to row in a breeze with chop.   Good Inflatables are not cheap and the suns UV degrades the fabric when in continuous long-term use. They can suit part-time or coastal cruisers with shore commitments (as the dinghy can stow in a car trunk and be taken home to garage storage)

"Zodiac" style are the most common type, hard floor or RIB best. Another more recent type is the TakaCat

Pram dinghy's. Have a bow transom (aka cut-off the pointy bow) which makes them relatively shorter and easier to stow while maintaining carrying capacity. 

Sunday, May 6, 2012

Shed extensions

In 2011-2012 the wyloyard underwent a re-build. The boatyard layout has been re-arranged and the roof and storage areas extended. 

In the 9 years i was away working in SE Asia, the wylo forest  had grown considerably in the dry-wet tropical environment. Also re-starting the boatyard after such a long shut down feels a bit like trying to re-start the  Panguna mine. (Put another way, its far easier to keep going once you start.)

After some planning time, the dry lockable storage extension was to be a 40ft (12m) sea container,  near the end of its serviceable life travelling the worlds oceans. The main shed would have lean-to veranda roofs and one 14ft caravan was to be turned to open up the work space.

One reason for the extensions is to do away with the sheds side-tarpaulins. Tarps on light-frames would be great in a temperate or equatorial latitudes but being in a cyclone belt, i made the tarps quickly removeable, hoisted like sails on two halyards each then guys ropes deployed to neaby trees to hold them out. Mines a long term-part-time build pattern, so had to hoist and lower the tarps every intermitent 2 week visit, to protect them from Sun and wind damage. This system made them last well but takes limited building time up. Once the iron roofs up, tarp worries are over.

Another good reason is to clear all the stuff stored under the hull and convert that from materials stock-piles to work areas.

Clearing and earthworks

Tree felling and clearing began around mid 2011, the worst tree was a fast growing introduced weed-tree called Leukina. Officially introduded as a miracle cattle fodder decades ago,  has broken free of the cattle farms and is now colonising native bushland. The Leukina had grown into about 12m high trees in 10years.! The oldest one had about 6 trunks and was 12m high monster with similar width of canopy. It reproduces prolifically and is very resistant to common herbicides, finally found one at  Elders agricultural that could dispatch the stumps and reshoots. Had a few bonfires ontop of stumps.

Used a Makita electric chainsaw. Made a toppling-direction error in the early days, one of the monsters trunks took its final revenge and toppled onto the wyloshed roof causing damage (later repaired). After that at least two stout ropes were attached high up any tree to be felled to ensure it would land safely in the intended direction, and miss sheds, vans, fences, powerlines etc.

Hired a Bobat and Brett did a good job of levelling old banana circles and creating a U-track for cars right around-through the boatyard. Also spread a few truckloads of "Deco" (decomposed granite) out on the main access driveway and i pruned a few trees so a semi-trailer could get in over the potentially boggy clay soil. He also had a stump grinding device which could attach to the bobcat and made short work of the remaining stumps (like leukina, fire resistant too).

Next stage Brett, also a concreter, made 4 footings pads, leveled, with cyclone-chains embedded for the seacontainer.

Sea-container

It took awhile but found and purchased an old  40ft long high-cube (9ft headroom) sea-container from the Townsville ports container yards.  Shortly after the semi-trailer rolled in with it.  The giant box was side-offloaded exactly onto the 4 square concrete footings with the trailers 2 lifting arms, chains and a handheld remote-control the driver operated. It has a few dings, dints and scrapes but is mostly a solid piece of  engineering.

Good access is important, preferably a straight drive in, mine wasn't and involved a 90 degree truck turn. I though i'd allowed plenty of room but turning circle was a bit tight, so a few logs allowed the semi to drive over a footing to get in..


Container on footings which keep it about 30cm above the ground. Chains are shackled onto each corner to prevent movement in a cyclone.
The dry cyclone-proof storage space was increased many times by this container, enough to handle boatbuilding stores and even household, furniture, vehicle storage  at a fraction of the cost of a permanent shed. The container can be moved or sold off in the future if required. It also doubles as a new far stronger southern wall to the yard (the original fence-wall was blown over in cyclone Yasi in Feb2011). Also theres about a 30cm high space underneath the container to store long pipes, old gutters etc neatly and fairly dry on the ground below it.

Boatshed lean-to extensions.

Saved  paperbark bush poles from the tree clearing work for the sheds upright poles. Paperbarks have high rot-termite resistance and are a strong hardwood. Stripped the bark off (better done green), treated the underground parts with econo termite deterent, augered and dug footing holes 90cm deep and planted the poles in handmixed bush-concrete.(Chain block lifted the heaviest poles, 10" diameter) The ute came in very handy for this, carting one load of well priced 700kg of concrete gravel-sand mix from the Bohle quarry to site, after off loading just add cement from bags and mix in a wheelbarrow. Its far less costly to make small batches of this concrete in a remote site like mine.

A small semi-protected storage alcove/ construction wall was created in the sheds SE corner with an extra ground post and horizontal corrugated iron sheets tek screwed on. It neatened the yards outer appearance, replacing an old shade cloth "wall". Things stay a bit drier and are out of view.

Next stage was to swivel one old 14ft Caravan around 90 degrees. The vintage wheels rolled out of the shed, pumped them up at the local petrol station and didn't even leak, the hubs rotated even after a decade in the elements. Mike helped with moving the van around, which really open up the workshops usable area. Then new cyclone tiedown footings (60cm) were dug, long steel rings embedded in bush-concrete and galvanised turn-buckles with shackles the final connections.

Main workshop area roof.

Framing. Decided to lower the 7m steel truss from its high 1999 position on the north end of the main boat shed. Mike was over and Chain block and come-along mechanical lefting devices help. 1/2"augered through the 12" end poles and bolted the truss into its new lower position. The trusses lower edge is just above wylo deck level, so there's just still room to work on the self-steering gear, and allow the davits to be extended above the workshop roof.

Next 3 long 6x2" or 5x2" beams were set up. The smaller in the middle as the 2nd hand truss had a nice upward bow in it. Augered and bolted together. Electric chainsawed the tops off the bush poles flush with the beams.

Purchased some 7m, 65mm tophat galv-steel roof purlins, from a company with most gigantic steel shed i've ever seen. Umungous gantry cranes loaded heavy Semis with 10 tonne steel beams and their square towering cabs, dwarfed  Jae the ute. Loading laws had gone heavier that i'd expected but just squeezed into the new regulations with  cut down purlins on the utes 2 ladder racks. Time to make up a front bumper-bar ladder rack (had one on the old XY Falcon wagon, to carry long loads) and perhaps try a smaller steel shed next time.

As the lightweight purlins went up realised the old bush-pole shed wasnt entirely square after all, so purlins adjusted accordingly and not noticeable. Bob, a mate down the road, gave me some old roofing iron he had lying out the back half buried in clay soil, jae needed a hose down and so did the sheets. They also needed some doctoring to straighten up. 16ft long, 4 have covered half the workshop area and old tool shed too, dramatically reducing scorching sun heat, rain and water.

The sheets are held down by 40mm tek screws from Boltmasters, Bohle. Got the wrong size at first (50mm) but they exchanged the box for 40mm, thankfully. It right for old style corrugated iron sheets.

Roofing work carried out early morning or late afternoons.


The workshop roof iron is going up. 7 m steel truss on right side. 

The workshop roof iron is up now  Its about 24 ft by 24 ft. It  was well worth the effort,  cool and dry at the workbench area,  the garden shed at left is also covered so doesn't heat up. The shed fence (at back) was also rebuilt to 6 ft high with new post and sheet iron.

Workshop roof from boat.
The western shed extension is now completed! Extra dry shady space. Its built in the same manner as the rest of the shed. Paperbark poles, recycled hardwood 6x2" beams bolted on, new 65 mm tophat purlins and recycled roof iron. Tek screw fasteners. The builders strap makes an X brace below the purlins, builders strap also holds down purlins on corners and edges edges.


Western roof - About 24 ft long and 13 ft wide. Wood-working workshop area (hatches, spars etc). It's also car access to the general workshop area.  The western afternoon sun was previously a  problem, heating the hull up. Now most of the hull is shaded in the tropical afternoons.

The sea-containers also been getting a bit of old fashioned rust chipping, rust-killer (phosphoric acid) and primer treament.


The SE alcove walls are 6ft high. A middle post went in to support the sheets. It keeps some materials semi-sheltered and away from hull.
 
SE Alcove with container southern wall behind.

Monday, November 28, 2011

Port holes 1

A standard wylo2 has 10 portholes. 5 on each cabin-side. Eight of them are 6" (150mm) diameter and the two forepeak ones are 4" (100mm) diameter. They are small size for great strength in open ocean, unlikely to break open when slammed by a huge wave. The designed sizes are carefully proportioned to the boat and look pleasing to a discerning eye. They make up a fair portion of the boats character.
I'm going for simple fixed port lights, which will have some external lexan or perspex on sealant and galvanised through bolted. This is the most economical way to start off and there's little chance of an annoying drip or worse. Also there is no danger of dissimilar metals which could cause electrolytic corrosion.

 (For ventilation I'm counter-acting the lack of opening ports with 3" high hatch coamings to stop deck wash, a large fore-hatch, sizeable opening skylight, 2 dorade boxes, canvas spray dodger on the main hatch etc)

Foreground is the galley port light. Next 2 are for the main saloon.

To make the fixed perspex port lights.
  • The deck and cabin sides were fully welded up first.
  • The portholes were marked/scribed on from the plans. 6" and 4" round templates with center hole.
  • A small pilot hole is drilled at each portholes center
  • Another template with 8 outer fastening bolt holes was made up.
  • The 8 attachment bolt holes were center punched for each port (separate 4 inch port template also made). 
  • Then a cutting jig was created. It has a central pivot point on a slide clamp, attached to an arm with the oxy-acetylene torch on the end with small wheel.
  • The pivot point goes into the center hole and the oxy torch then describes a nice arc just inside the 6" and 4" diameter scribed lines.
  • Small angle grinder or wheel to trim up the edge to scribed lines.
  • 1/4" attachment bolts holes were drilled out.


Next phase - get perspex cut and drilled.

Other options are possible.  Nick used his salvaged bronze portholes. Some rubber and small hose around bolts was used to isolate the steel from the bronze to stop electrolysis from occurring. Some of these are opening ports.

Some wylos have 1-2 opening ports at the forward end of the cabin/fore peak. This allows air to blow straight in there, but you could get some water/rain in there onto the bunk  if not attentive.

I've seen a wylo with home-made stainless opening ports machined in a sugar mills workshop during the slow season.

As mentioned previously the aft bunk/stern opening port hole is a good optional extra if you have the time-budget. Tai Taki 2s transom port can be left open most of the time while on board. Its under the overhanging transom and is usually to leeward when on an anchor or swing mooring.

My transom port is 7" diameter, just astern of the quarter berth area. It's well above the static waterline (hopefully the careened waterline too). No bolt holes are drilled yet.. If i cant find a suitable old opening port hole, then  the plan is to make an internal opening port with galvanised frame. If you are in a hurry to launch then it probably would be better to not have this port hole (as per the plans).

Another reason for fixed side ports. I met a yachty who owner-built a 50ft yacht with side opening ports. She was tied up to river piles. While the crew were away ashore the tide went out and the boat fell over downhill away from the piles, when the tide came back in the yacht filled up via the open ports and the hull was totally submerged. The yacht was salvaged, pain-stakingly repaired and sold. 

As a result of this story I'm trying to confine anything that opens to above the extremely heeled careened waterline. I'm sure it's possible with a wylo2 as nearly all the hatches, dorade pipes etc are inboard around the center line. Omitting the port side lazarette hatch entirely could also make the hull inherently safer and faster-easier to build. I have a large lazarette hatch coaming already in place,  its advantages are in port ventilation and easy access below. It will have to be kept dogged down at sea or when unattended in tidal ports.